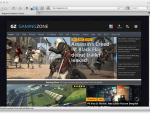
Setup a Gaming Site in Minutes
WordPress is a CMS that can be used to create any type of personal or professional site. Thousands and thousands of sites are popping up daily which are running on WordPress. Not only that but more people are converting over to this CMS from HTML/static sites because they can change content, images and even add videos easily. The main reason of its popularity is that it is free and open source, and has a large community behind it.
Today we will show you how to fully setup a professional gaming site/blog in just minutes. Everything is really easy and requires no knowledge of programming or anything of that sort. So let’s get started.
Setup a Gaming Site with WordPress
Choosing an Affordable Web Host
This article assumes that you already have a web hosting account but if you don’t have it yet you can browse below URL for cheap reliable web hosting packages
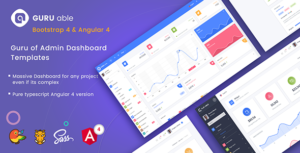
Selecting the Best Gaming Theme for your Website
First of all what you need is a WordPress theme which best fit your website requirements because default theme is not the one many people are interested in using on their website. Go to the following url, pick a theme and download
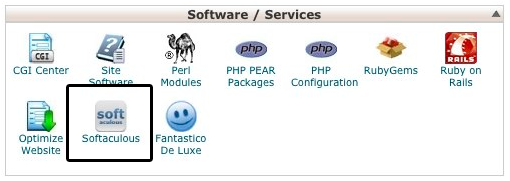
Install WordPress in your Hosting (Cpanel)
Secondly, you need to do is login to your Hosting cPanel or your website control panel if its different than cPanel and click on the Softaculous icon located under the “Software Services” section or some similar icon for third party scripts.
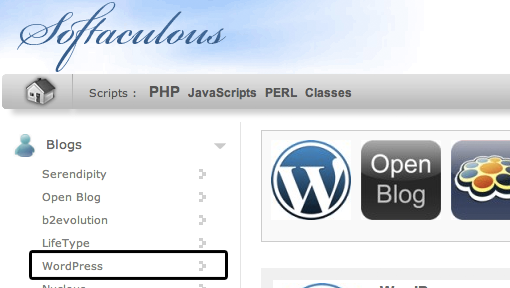
 Once you click on the Softaculous icon, you will be redirected to the Softaculous dashboard. If you look to the left side of your screen, you will see a list of software categories. Click on the “Blogs” category and then select WordPress.
When you click on WordPress, you will see a brief overview of the software. Click on the big blue “Install” button to start the process.

On the next screen, you will see the software setup form. First thing you need to do is choose the domain name you want to install WordPress on. To install WordPress on your main domain, you need to leave the “In Directory” field blank. Next, you need to pick a database name (no one else will see this name, so you don’t have to be creative). In Database settings, you want to slightly modify the table prefix to enhance your site security. Instead of leaving the default wp_ prefix, you can do something like wp_sit3nam3_.
Enter your site name and description. You probably want to leave the WPMU box unchecked unless you know what you are doing.
 If you scroll further down, you will see the screen to create your admin account. Please do not use the default “admin” username. Create something original for yourself. Don’t forget to create a strong password. Enter your best email, and select Install.
 That’s it. Softaculous will work it’s magic and within seconds after you click the Install button, your WordPress will be installed. Then all you need to do is go to yoursite.com/wp-admin/ and enter your login information to start writing posts.
You can also download more plugins to enhance the functionality of your site or blog from within the admin panel of your site.
For plugins you might be interested in:
- 30 Wonderful And Latest Free WordPress Plugins
- 10 Best WordPress Newsletter Plugins
- Best WordPress SEO Plugins
- Best Form Builder Plugins for WordPress